Whether you’re on a trip to an exotic destination or simply want to sell a condo more easily in the local want ads, architectural photography is all around us and not only for use by professional photographers. With today’s advances in technology, it is now possible to take first-class shots with even your smart phone. It is no longer essential to spend thousands of dollars to buy tons of expensive equipment!
The tips that follow can be used to advantage whatever the quality of your equipment. No need either to know the more technical aspects of photography, no great rules of philosophy, but rather just quick little tips which can have a huge impact on the quality of your photos.
Be patient and stay alert
Contrary to many other types of photography, in architectural photography the subject is fixed and doesn’t change. The building has been on that same spot for years, decades and even, in some cases, for thousands of years. So, take 10 or 15 minutes to set up correctly, to explore all the possible angles for shots and to check your settings even before taking your very first photo. Is there a delivery truck parked just at the wrong spot? A tourist family with their selfie stick happens to be standing right at the centre of your shot? Wait for the field to clear; it will be well worth the wait.
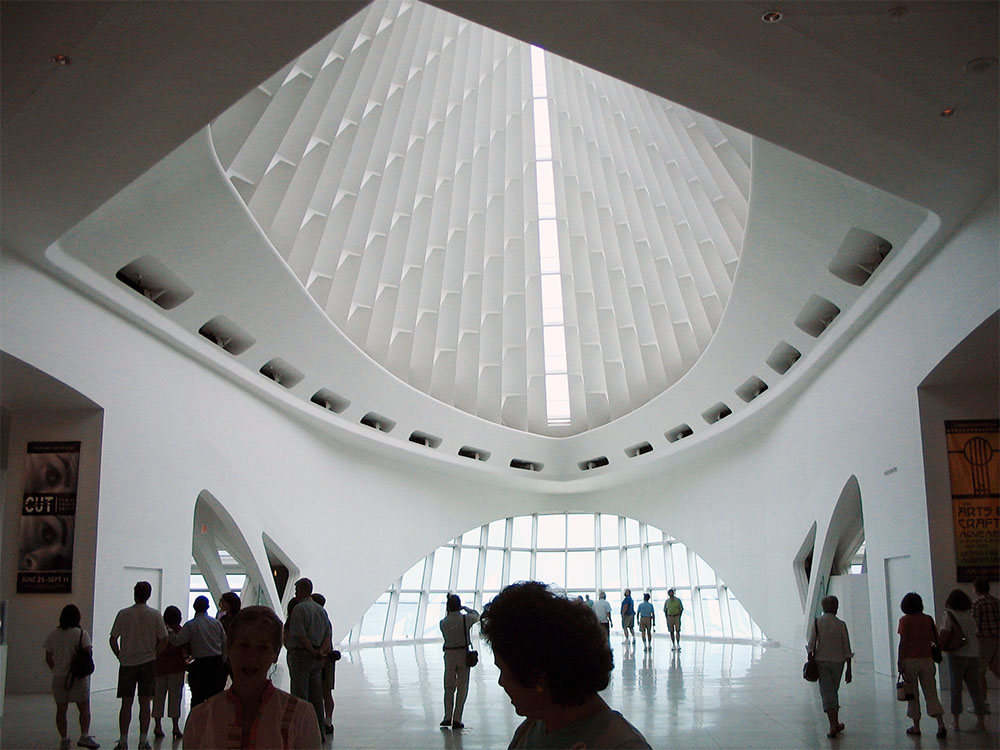
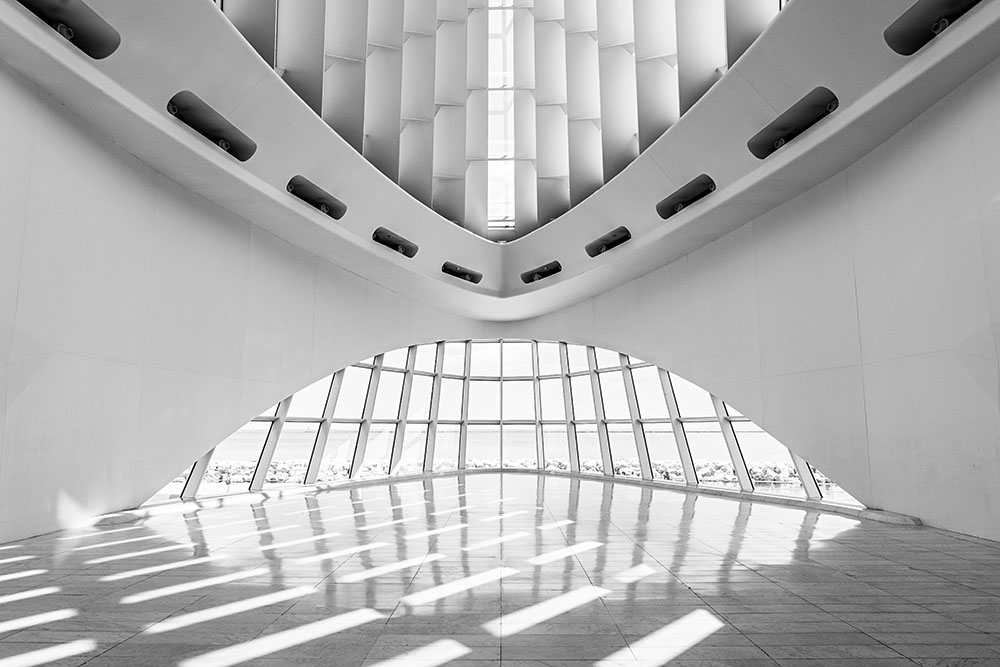
At the same time, stay alert and be ready to take advantage of a surprise event which comes along and may add great value to your photos. A well-placed sunbeam that only lasts 30 seconds, a passing individual with just the right accessory, the last rays of the day’s sun colouring the horizon: A few minutes or even seconds can make all the difference between an ordinary photo and one that is extraordinary. Always be ready, then, to capture “the moment.”
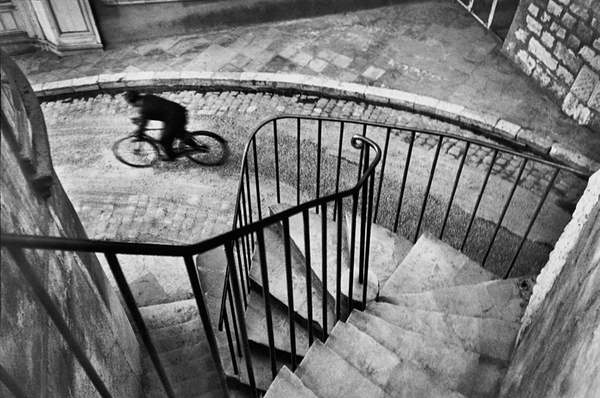
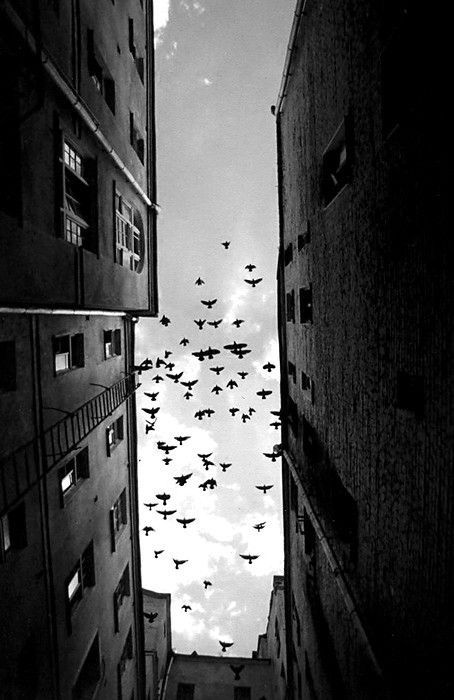
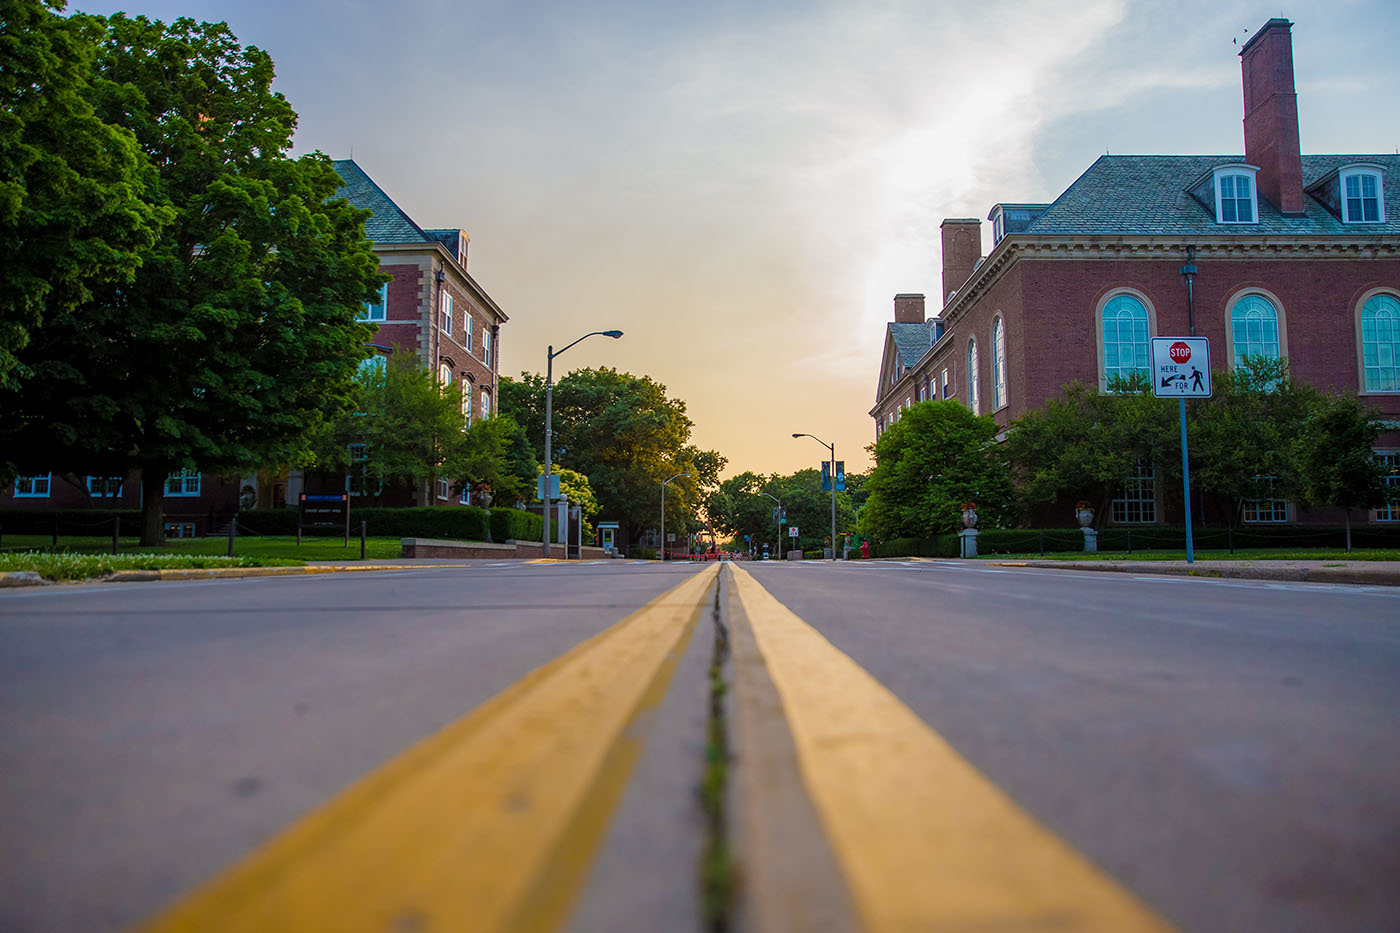
Vary the height of your camera
Maybe, it is necessary to crouch down or perhaps lie flat on the ground to get the perfect angle for your shot. Or sometimes you may need to climb on a chair or take a few steps up. A few centimetres higher or lower often make a big difference.
Do your homework
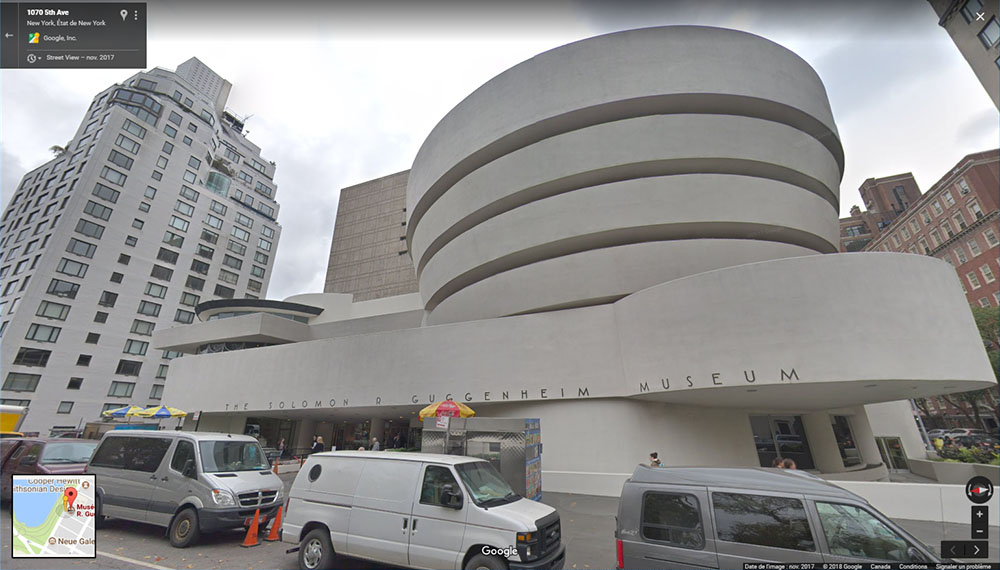
Even before you head to the site, it’s never a bad idea to research your subject and to plan the shoot. With the help of several free on-line tools, it is possible to know ahead of time at what hour the daylight will be the most interesting, and even to explore the various possible visual angles without leaving home (Google Street View is an incredible tool for this sort of research).
At what moment of the day is the sun best positioned?
In photography, everything is a matter of light. Thus, it is crucial that you plan your shot with the angle of the sun in mind. Avoid the midday sun which gives washed-out photos. Choose, rather, the morning or later afternoon sun to give more dramatic lighting to photos with shadows which are longer or stronger to better highlight a building’s features.
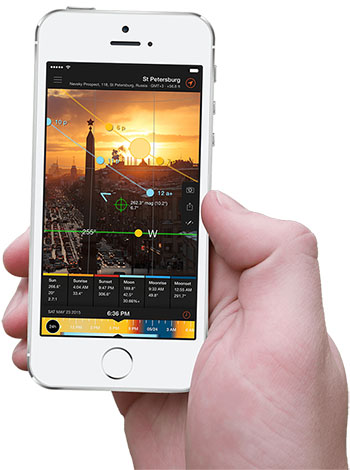
I use an application on my telephone that allows me to know the exact position of the sun at any given moment during the day and at any given spot on the planet. Very practical! The perfect moment lasts only a short time, so get there early and be ready! The first and last rays of the sunlight are often the most beautiful. The darker sky, an intense blue, lets you create a well-balanced photo or one whose subject is ideally exposed. This will reduce greatly the work that needs to be done to enhance that photo.
Is the building known for a particular viewing angle?
Some buildings are known for having a specific angle from which most people tend to take a photo. A simple search for images on Google will enable you to check if such is the case. You can then decide if you wish to preserve a more “classic” view or, in fact, to think outside the box.
Avoid the silly mistakes inattention can cause
In the rush of the moment, it is easy to not pay attention to certain things. It is only when you get back home, with your images open in your preferred image processing editor, that you realize that all those photos are slightly fuzzy or that you can see your reflection in a mirror.
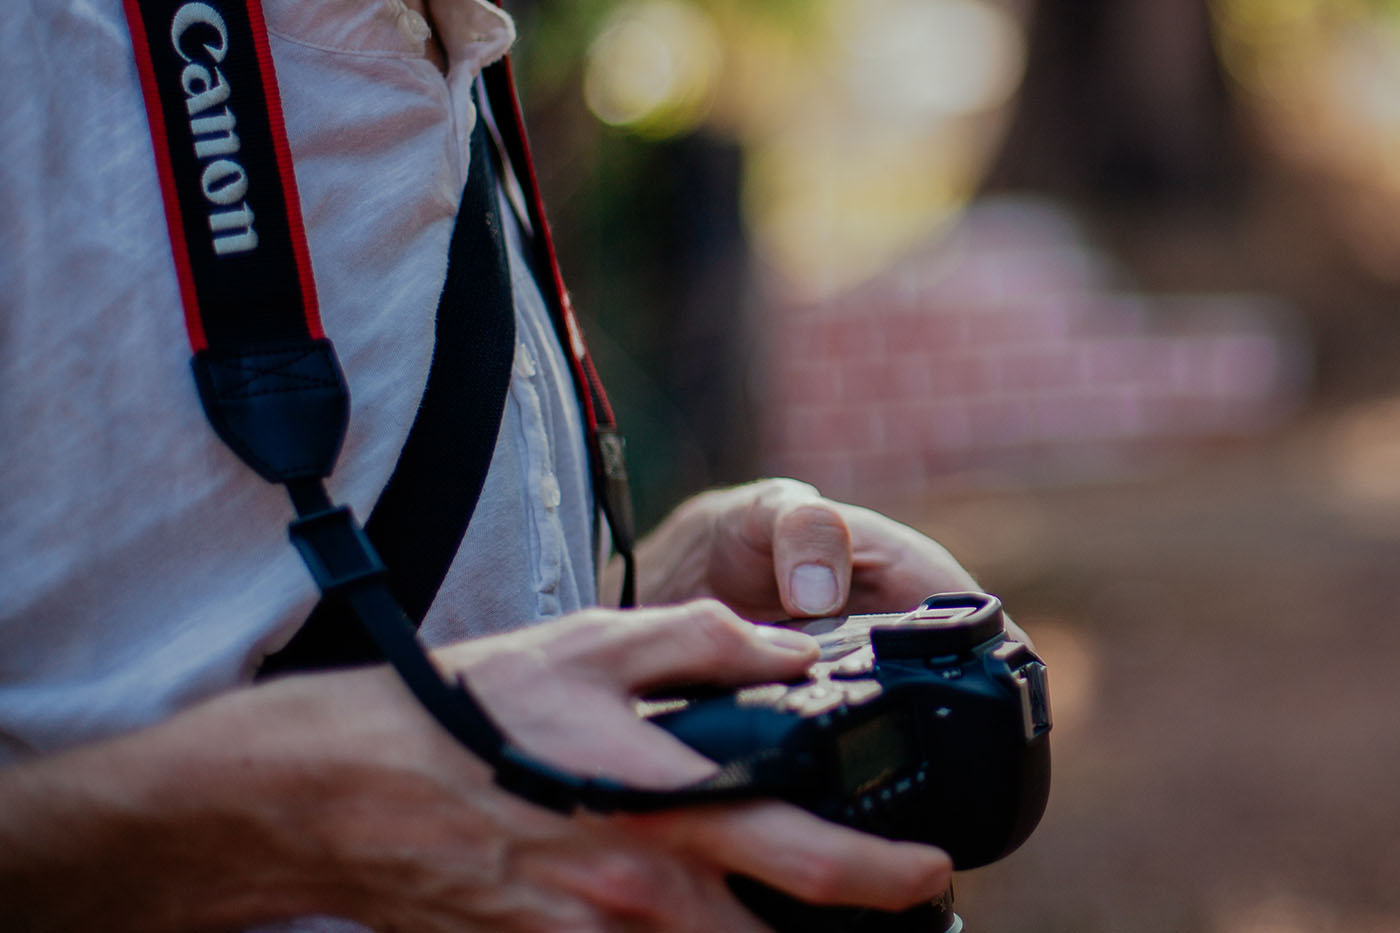
Check your photos often on the display screen of your camera in order to see quickly if settings are correct. Zoom in on your photos to check if they are clear, that the focus is right and that the image is exposed correctly. No photo editor can make a blurry photo clearer or correct an image which has been totally overexposed.
Pay attention to reflections since more and more highly reflective materials are being used in architecture, glass walls and polished metal panels are used extensively nowadays. So, be sure you don’t find yourself mirrored in one of these, and a tripod foot or a pair of shoes is never nice to see in a photo. In most cases, a few steps to the left or right are all it takes to get rid of unpleasant reflections.
Remove all unhelpful elements. Especially in the case of inside photoshoots, ensure that nothing unwanted is present in a photo: an old dirty cup laying about on the kitchen counter, a pair of dust-covered socks in the corner of a room, a forgotten video game joystick under a living room chair, etc. It is always better to take 30 seconds extra in framing the shot rather than spending 2 hours in Photoshop trying to eliminate a distracting object.
Know the limitations of your equipment
Despite the unbelievable advances in technology in recent years, every camera still has its own technical limits which have to be taken into account to get the best possible results.
Avoid backlit photos. It is not uncommon to see certain objects appear in photos which have been backlit with the sun appearing in the image. Because the camera’s lens cannot deal with this type of extreme situation, you will see halos and odd visual effects. These problems are impossible to fix afterward; it is better to wait for the sun to change position or to change the visual angle for the shot.
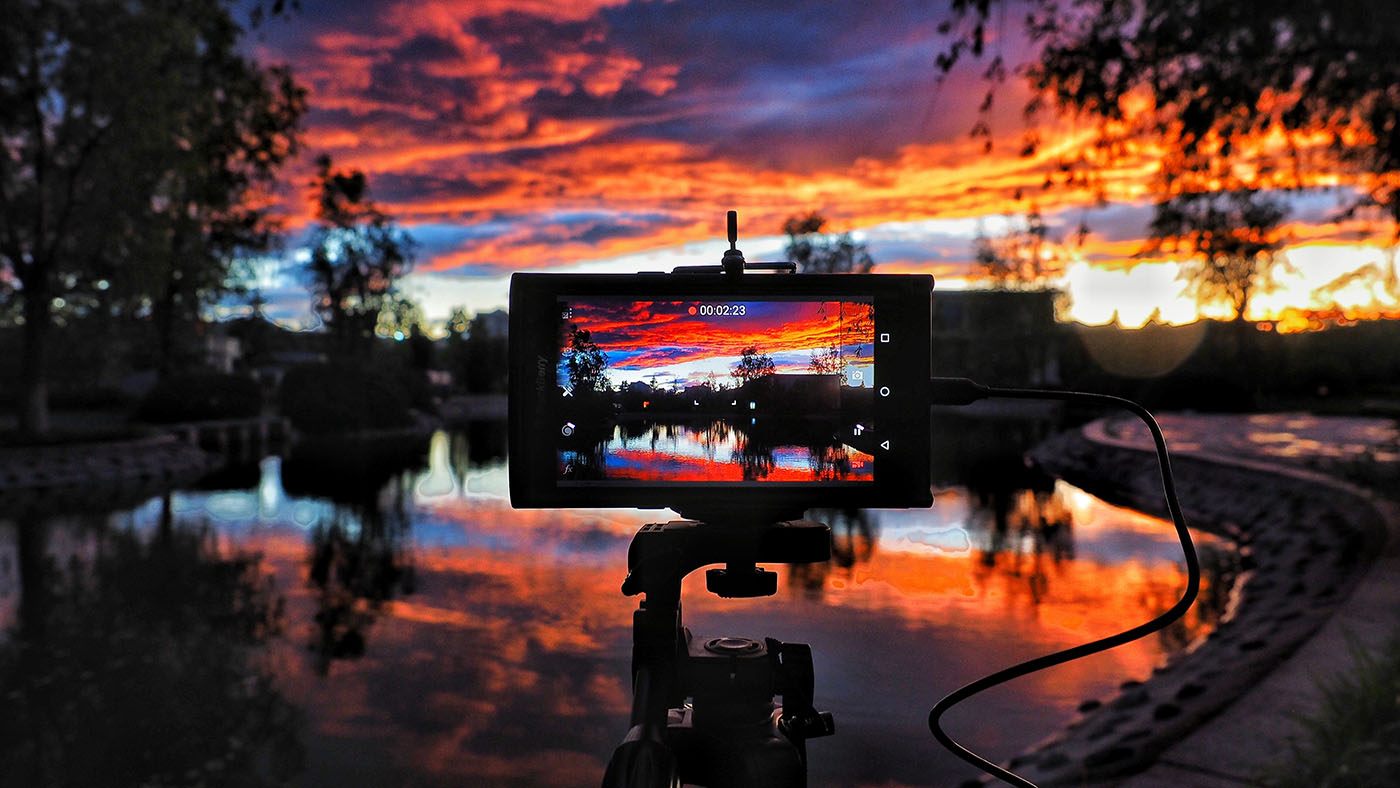
Avoid photos with low lighting. The cameras of smart phones and low-end equipment have a lot of trouble producing quality images when the light begins to fade. You see image noise showing up when the camera sensor doesn’t get enough light and this can greatly affect the photo quality. Where you have low light, give your camera a chance: stabilize it with a tripod, support it on a stable surface or use any other means necessary to avoid its moving. That will have the effect of enabling it to use a slower shutter speed, thus decreasing the all-too-common digital noise.
Finally, don’t forget that photography remains an art, and so, everything is a matter of taste and interpretation. Dare to take risks, explore all possible options and take lots of photos, since it costs nothing!

